ControlAltDieliet 

- Home /
- Mattermost /
- Plugins /
- Setup your development environment
Plugins: setting up your developer environment
In this article you learn how set up your developer envirmoment.
You'll have a local Mattermost and Webapp instance running at the end of this article.
My test computer is a 5y old laptop with a Intel i5 processor and 4GB of RAM. You need at least 30GB of hard disk. Building the server and webapp from source, takes some minutes on this machine.
Further you'll need an internet connection.
We start with a fresh installed Ubuntu 20.04.
You don't need to install the desktop environment. If you do, you can browse to your Mattermost instance on the laptop but it can be reached from devices in your network as well.
1 Installing the dependencies
First we have to install some dependencies.
sudo apt-get install -y build-essential curl git gcc nodejs npm
2 Install Docker
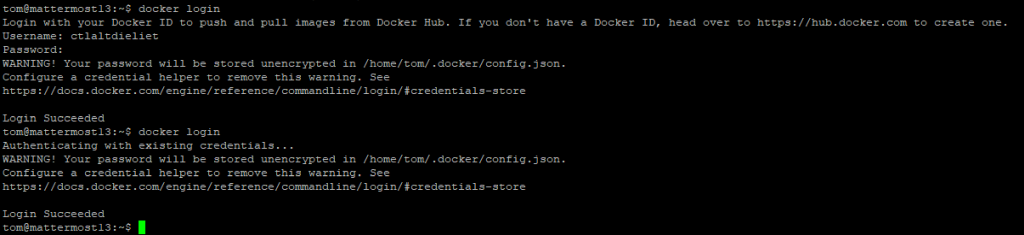
You will run Mattermost in a Docker container. You'll need a (free) docker account. If your don't have one yet, you can signup here
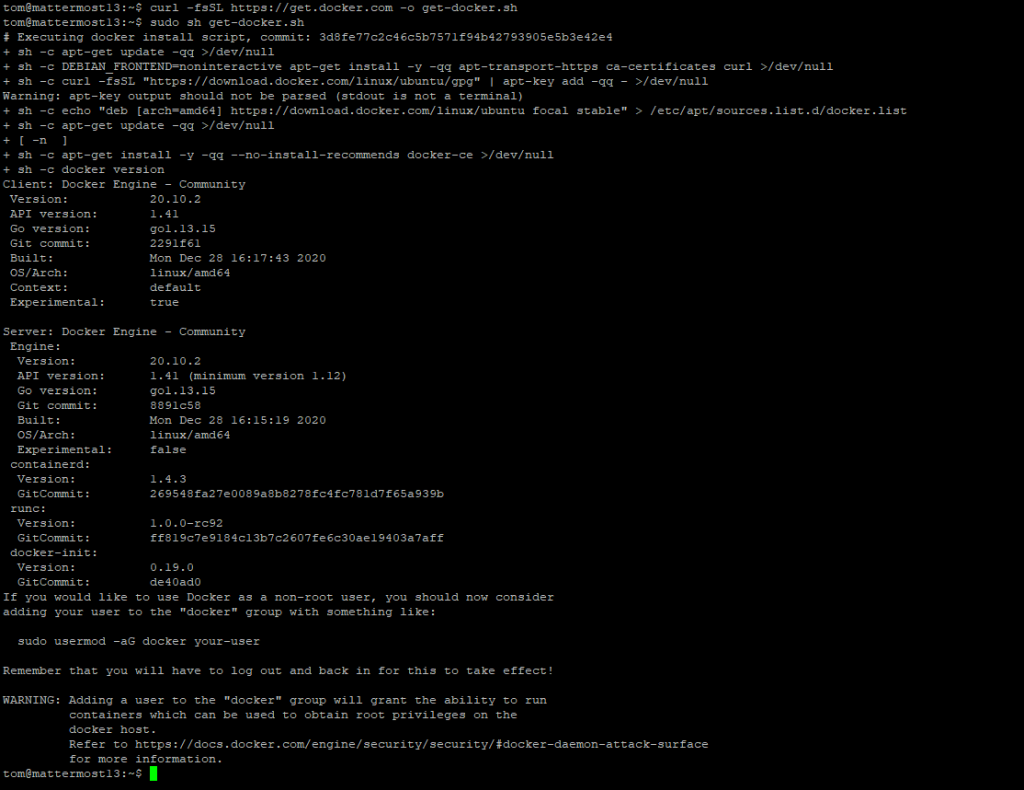
Let's install Docker!
curl -fsSL https://get.docker.com -o get-docker.sh
sudo sh get-docker.sh
sudo usermod -aG docker $(whoami)
docker login
3 Install docker-compose
sudo curl -L "https://github.com/docker/compose/releases/latest/download/docker-compose-$(uname -s)-$(uname -m)" -o /usr/local/bin/docker-compose
sudo chmod +x /usr/local/bin/docker-compose

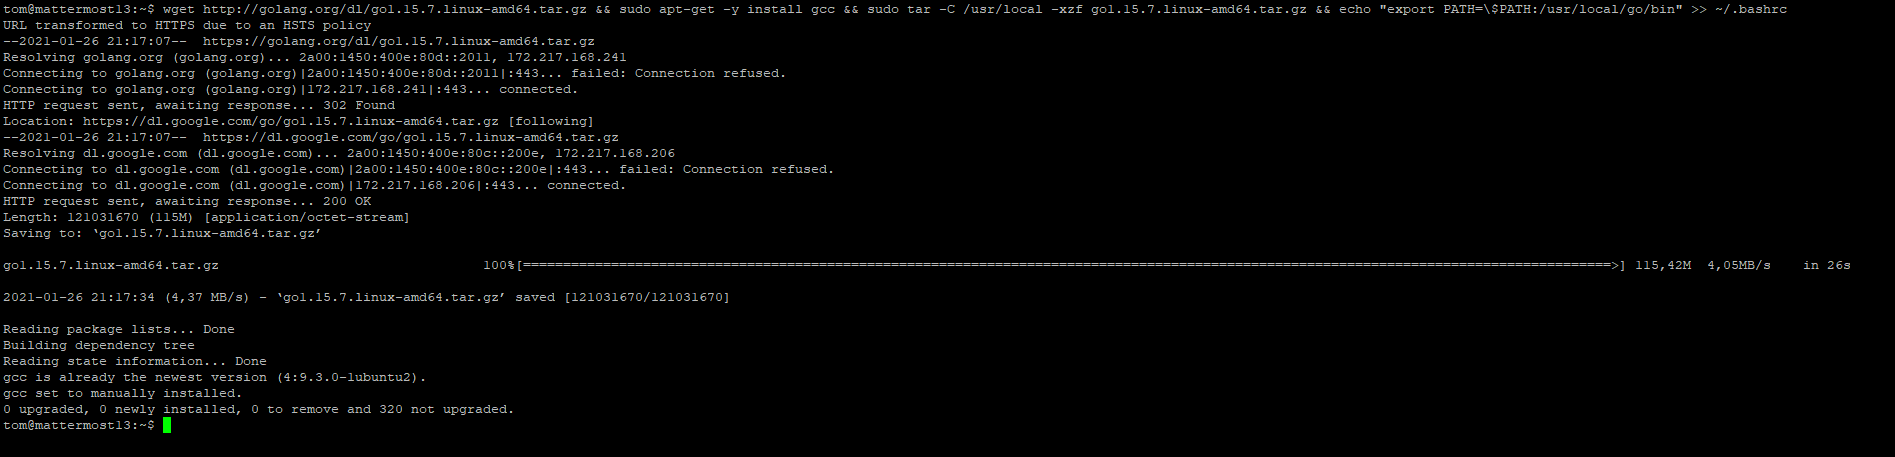
4 Installing Go
Mattermost is written in Golang and React. To build Mattermost you have to install Go
sudo rm -rf /usr/local/go
wget https://golang.org/dl/go1.15.6.linux-386.tar.gz
sudo tar -C /usr/local -xzf go1.15.6.linux-386.tar.gz
sudo apt-get remove -y gccgo-go && wget http://golang.org/dl/go1.15.6.linux-amd64.tar.gz
sudo tar -C /usr/local -xzf go1.15.6.linux-amd64.tar.gz
echo "export PATH=\$PATH:/usr/local/go/bin" >> ~/.bashrc
5 Adding Go to your shell
You have to add go to your shell. Add following lines to .bashrc in your home folder.
echo 'export GOPATH=$HOME/go
export PATH=$PATH:$GOPATH/bin
export PATH=$PATH:/usr/local/go/bin' >> /YOUR/HOME/FOLDER/.bashrc

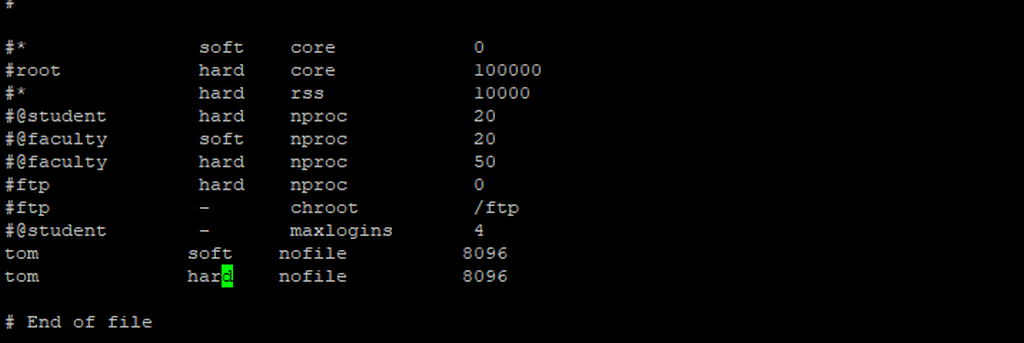
6 Modify /etc/security/limits.conf
Modify the /etc/security/limits.conf. You need to do this as an admistrator (use sudo). You have to add the following two lines and replace YOURUSERNAME with your username.
/etc/security/limits.conf
YOURUSERNAME  soft  nofile  8096
YOURUSERNAME  hard  nofile  8096
7 Clone and install the Mattermost-server
First, fork the Mattermost-server to your own Github-account.
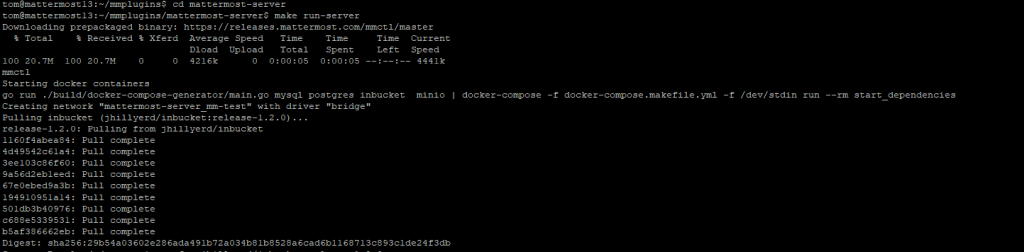
Create a folder mmplugins and clone the Mattermost-server into that folder.
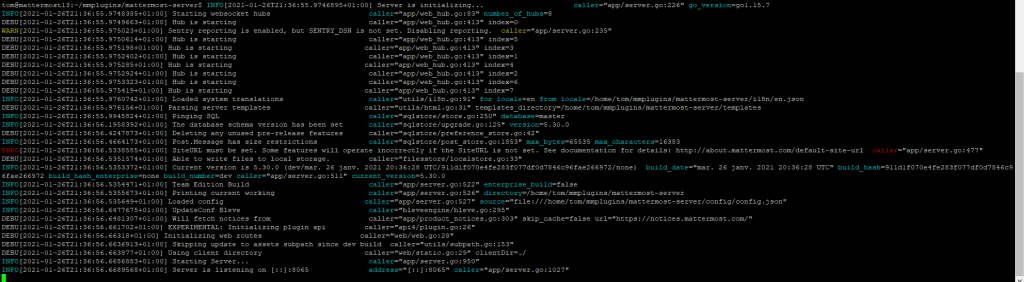
The next step is building the server. When the building has finished you'll see it's listing on port 8065.
mkdir mmplugins
cd mmplugins
git clone https://github.com/YOUR_GITHUB_USERNAME/mattermost-server.git
cd mattermost-server
make run-server
8 Testing your server
We're gonna send a ping command to the API-server to test it.
curl http://localhost:8065/api/v4/system/ping
You'll receive a JSON-response like this.
 If you browse to your server you'll receive a 404-error cause the Webapp isn't installed yet.
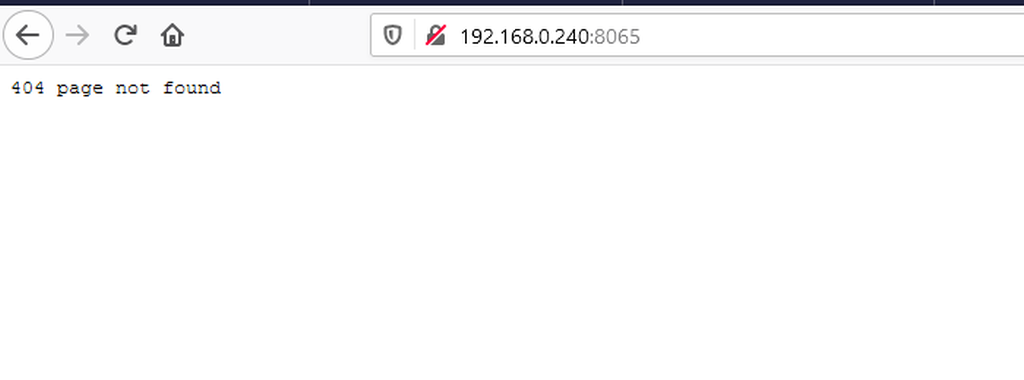
Shutdown your server for now.
make stop-server
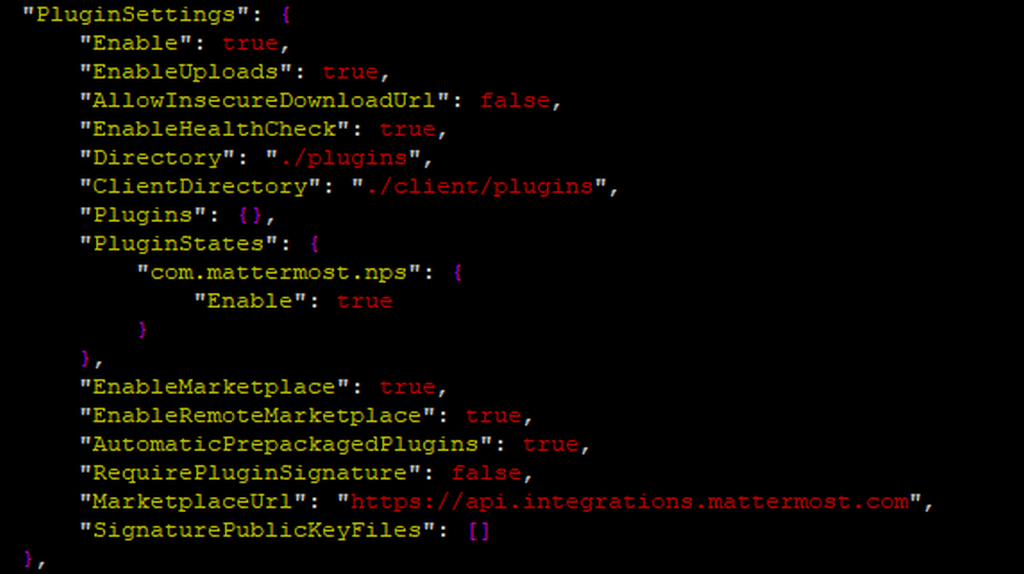
9 Modifying the configuration file
Go to the mattermost-server/config/ folder and modify the config.json file.
You have to enable plugins. Look for PluginSettings and make sure that plugins are enabled.
10 Installing the Webapp
You have done the first part: installing the Mattermost Server. Now you'll install the Webapp.
First, fork the Mattermost-server to your own Github-account.
Go back to the mmplugins folder and clone the Mattermost-Webapp into that folder.
git clone https://github.com/YOUR_GITHUB_USERNAME/mattermost-webapp.git

11 Linking your webapp to your server
The next step is linking your webapp folder to your Mattermost server
mkdir -p mattermost-webapp/dist
  cd mattermost-server
  ln -nfs ../mattermost-webapp/dist client
  cd ..

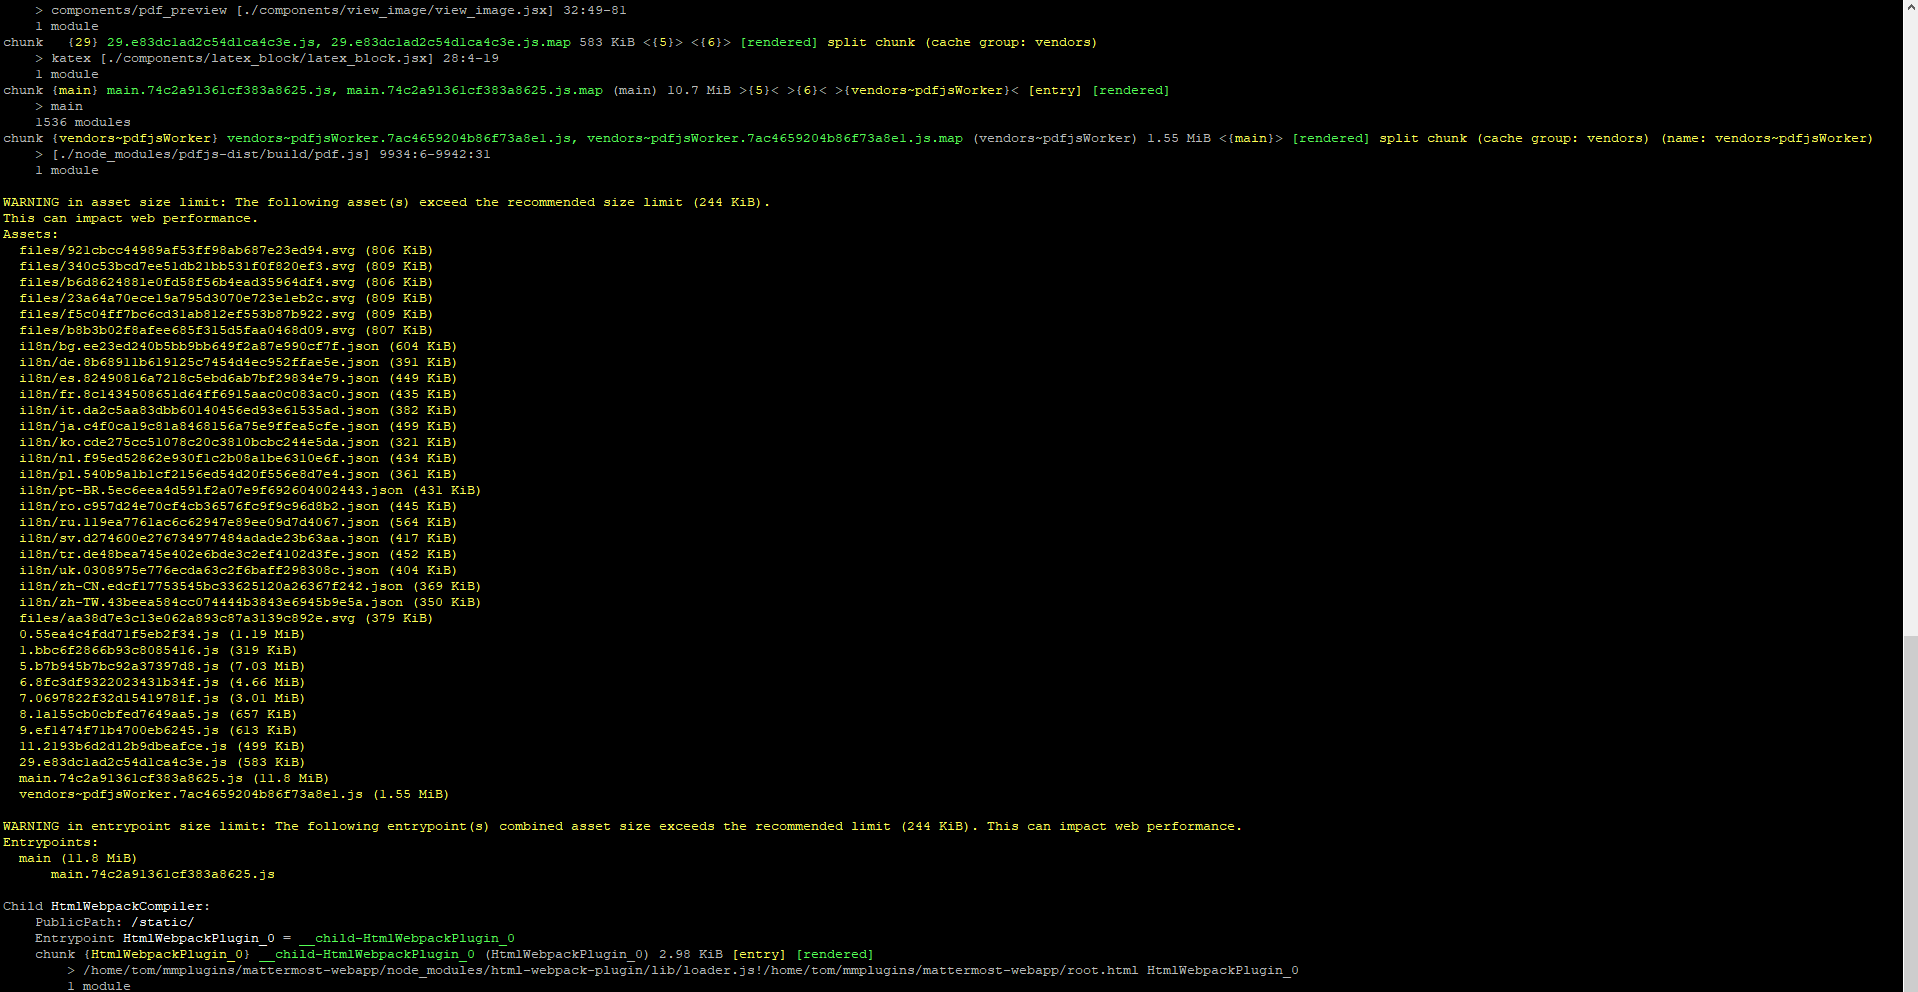
12 Test and run your Webapp
Go to the webapp folder, test your environment and run your webapp. Export MM_LIVE_RELOAD let you see your changes directly but is not important when developing plugins . Don't forget to start your server again!
cd mattermost-webapp
make test
make run
cd ../mattermost-server
make run-server

Running your webapp
13 Fill your server with some test-data
You can fill your server with some demo data. You can login with a system admin account username=sysadmin with password=Sys@dmin-sample1 or with a regular account username=user-1 password=SampleUs@r-1. We'll do that in the next step.
cd mattermost-webapp
 make test-data
14 Store your credentials for uploading
cd mattermost-server/bin/
./mmctl auth login http://localhost:8065 --name local-name --username sysadmin --password Sys@dmin-sample1

15 Browse to your Mattermost server
If you open your browser now and surf to your Mattermost server you'll see the webapp and can login !
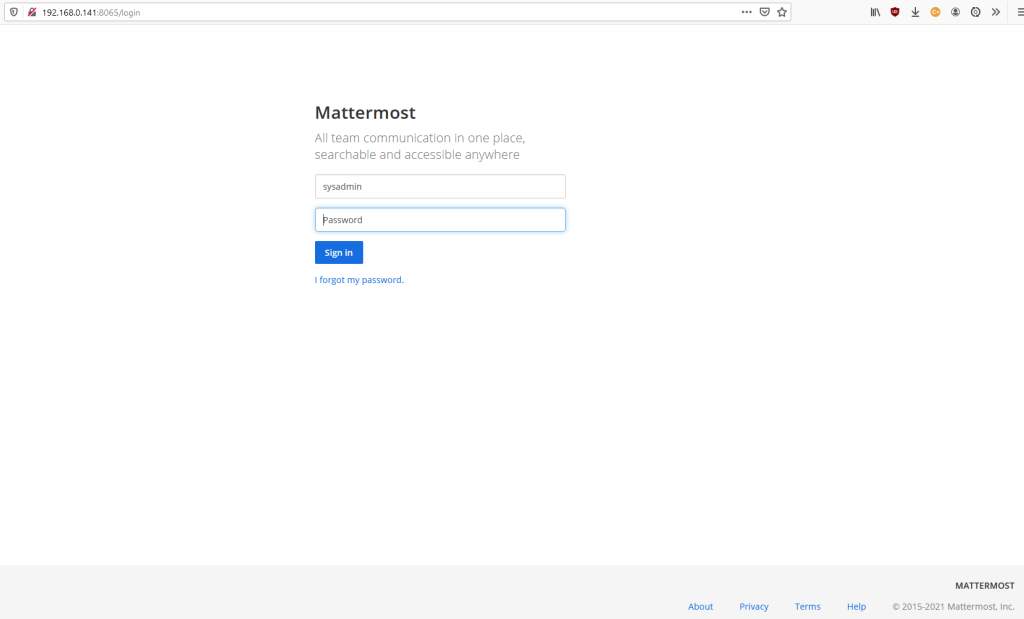
16 You're finished! You have set up your own developer environment!
Let's write some code! If you want to stop your server and your container,you have to run make stop-docker in the mattermost-webapp folder.
cd mattermost-webapp
  make stop-docker
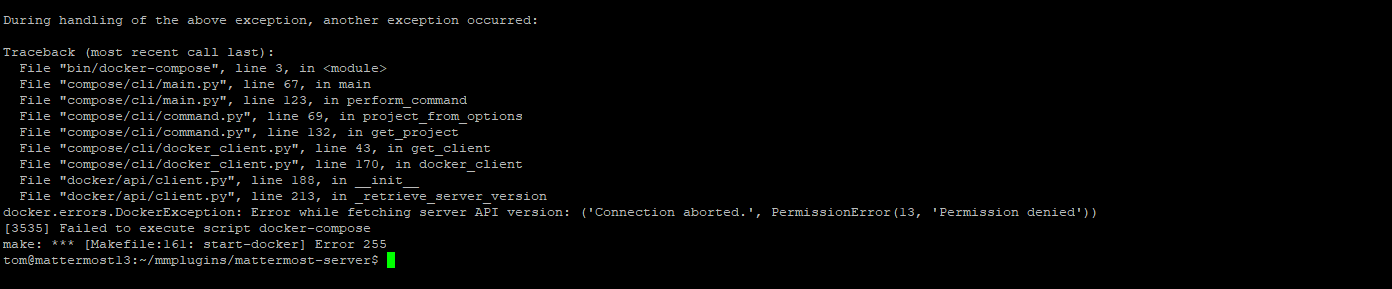
17 Having a 'Permission Denied' error
When you are starting your server and you receive a 'Permission Denied' error, you don't have the right to start Docker with your account. An ugly way to solve it is, make the Docker-socket world read-writeable.
sudo chmod 666 /var/run/docker.sock